This is a Turorial on how I made my Tauriel leather corset. I hope you find it helpful.
Pattern
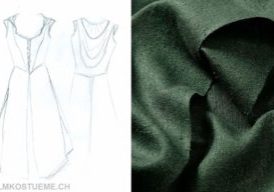
Tauriels leather corset is a bit more complex then a "normal" corset would be. First I made some sketches before beginning my pattern.
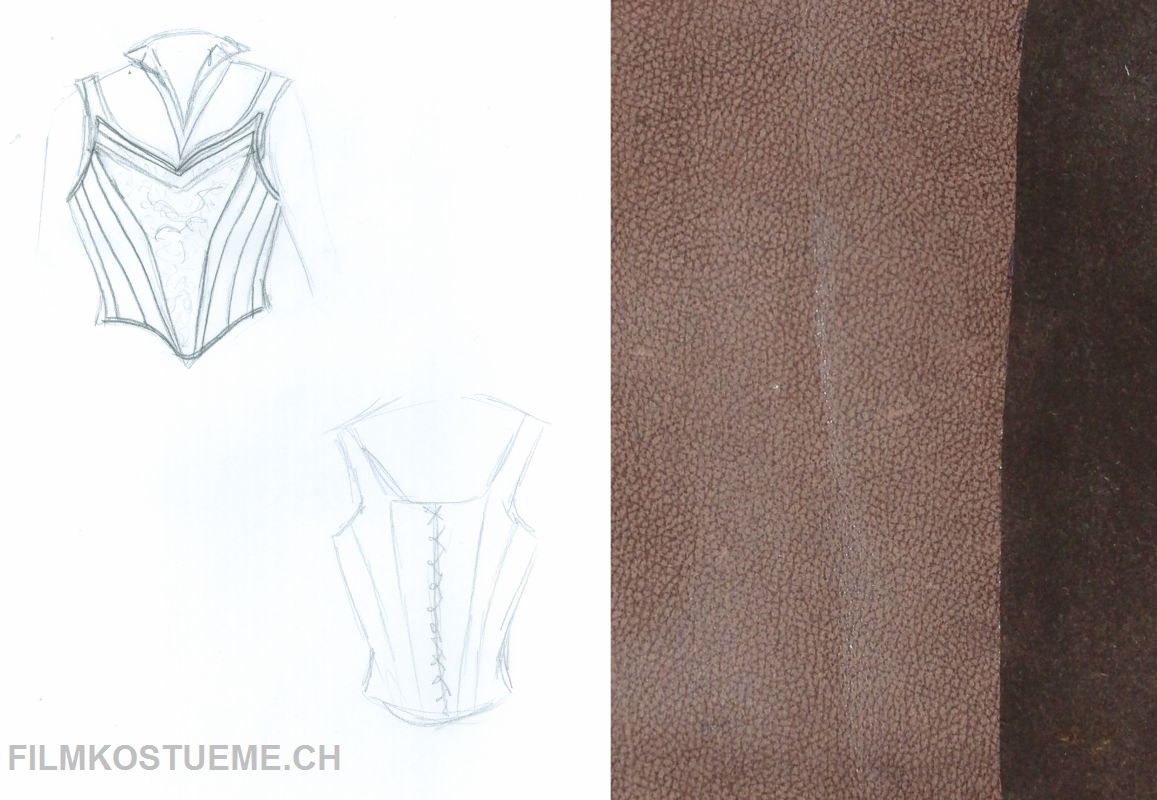
Here's some pictures of the back and the front pattern of my corset.
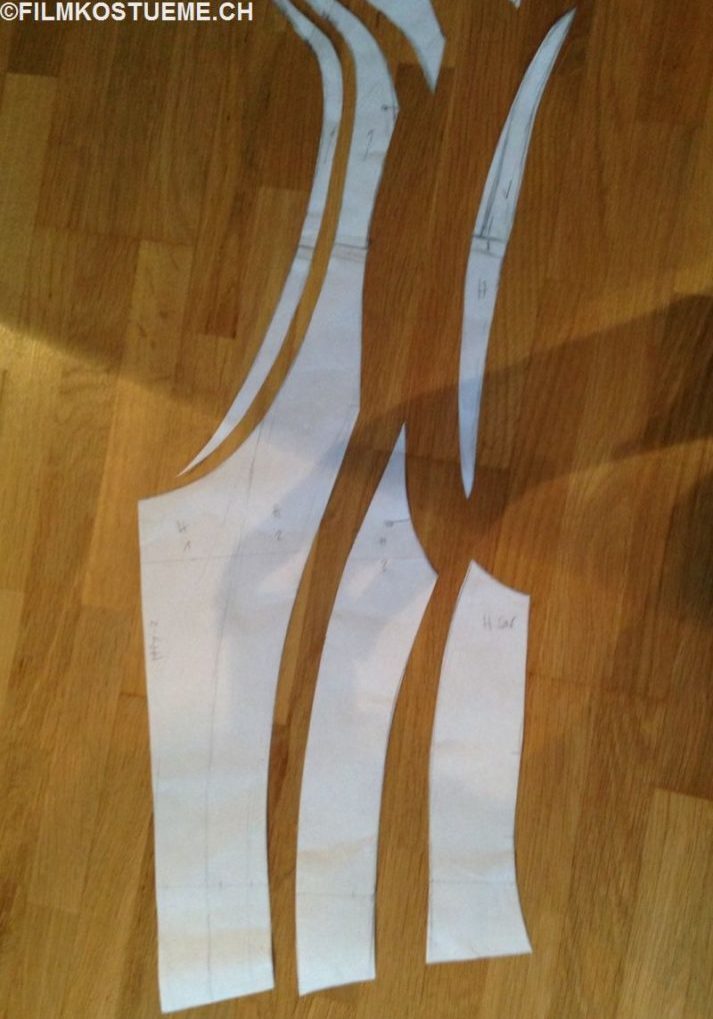
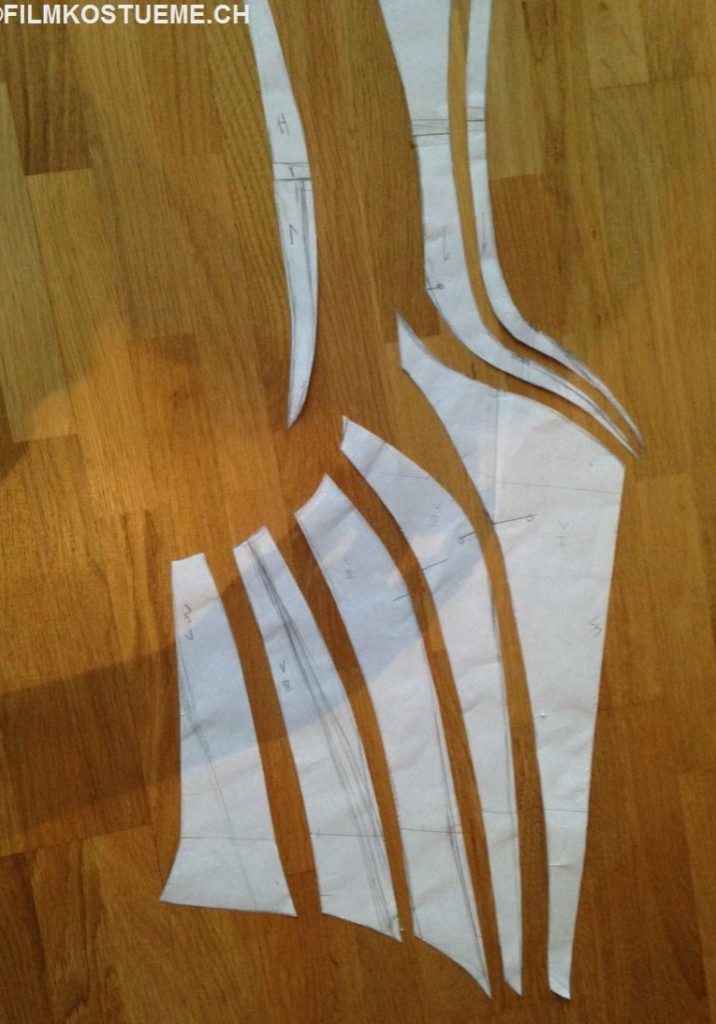
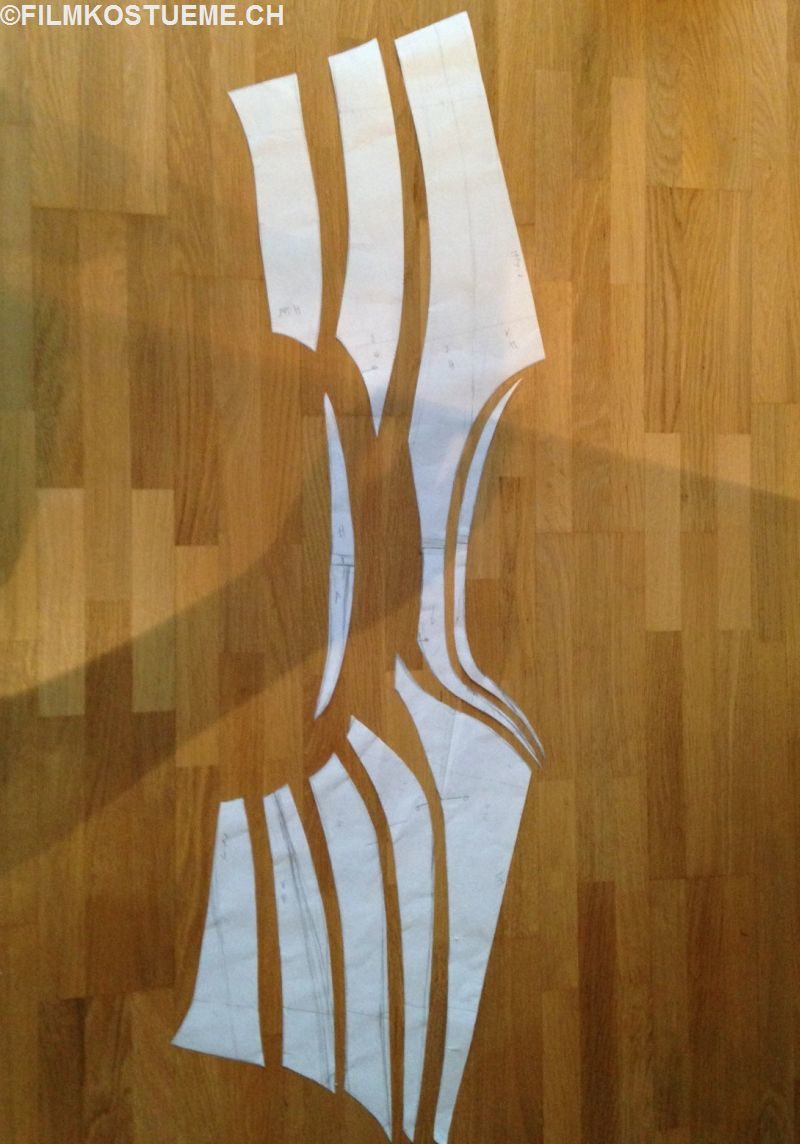
And here you see both parts.
As you can see there's no shoulder seam. If you have enough leather I totally recommend doing it without the seam.
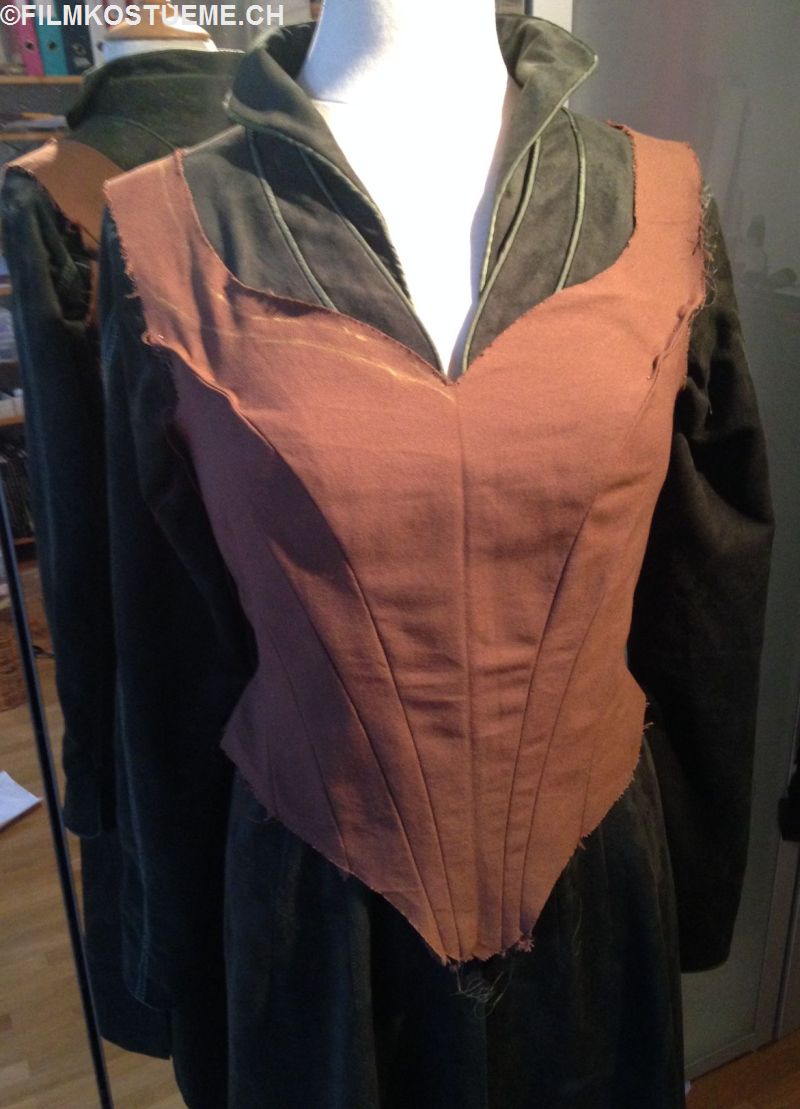
Mockup
Luckily I was very pleased with my pattern and had only to change very little things 🙂
But with a more complicated pattern as this, you could go so wrong. I was lucky.
"Always test your patterns. It really saves you a lot of pain..."
Front design
Tauriel has this leaf pattern on the front of her corset. Unfortunately there aren't that many good pictures of it... So I had to improvise a bit 😉
Here's some drawing in progress:
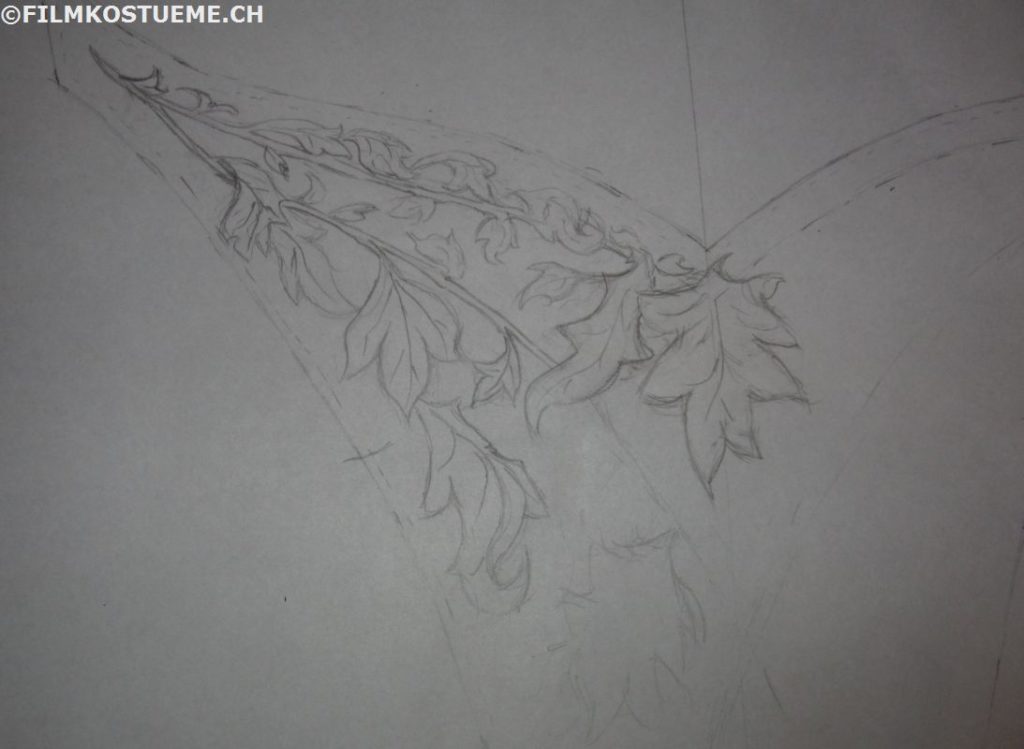
And that's my final result with some reference pictures.
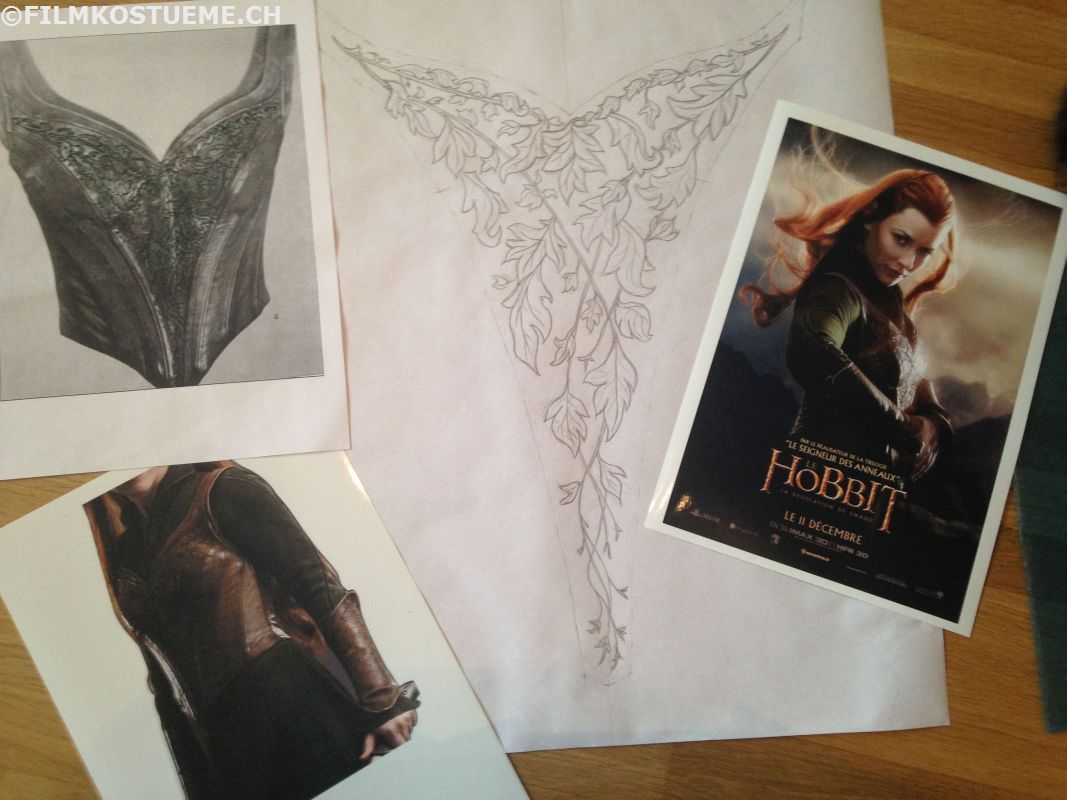
I was very pleased with how this looks, still am 🙂
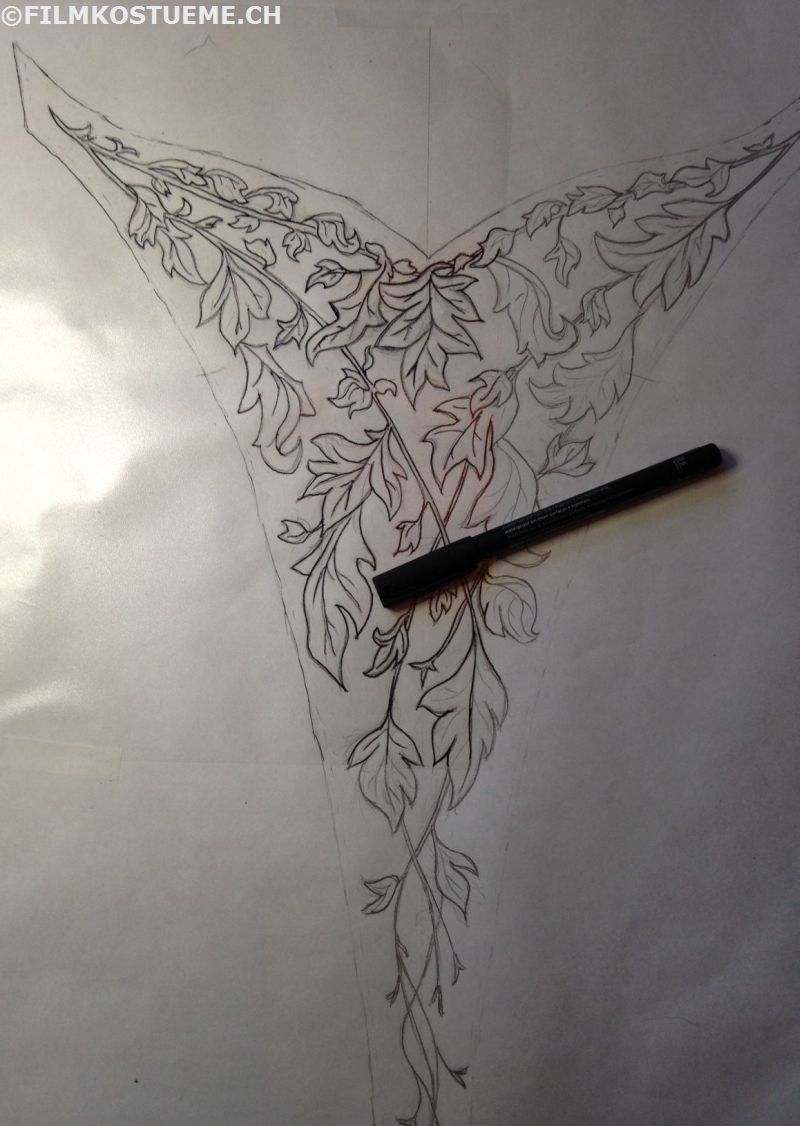
Transferring the pattern onto leather
First I copied the design onto a foil. As I didn't have one that was big enough I parted it in 3 parts.
Then I taped the foil to the leather and transferred the design onto it by pushing quite hard with my pen.
That was quite the worst part of the whole process, well that and the next step...
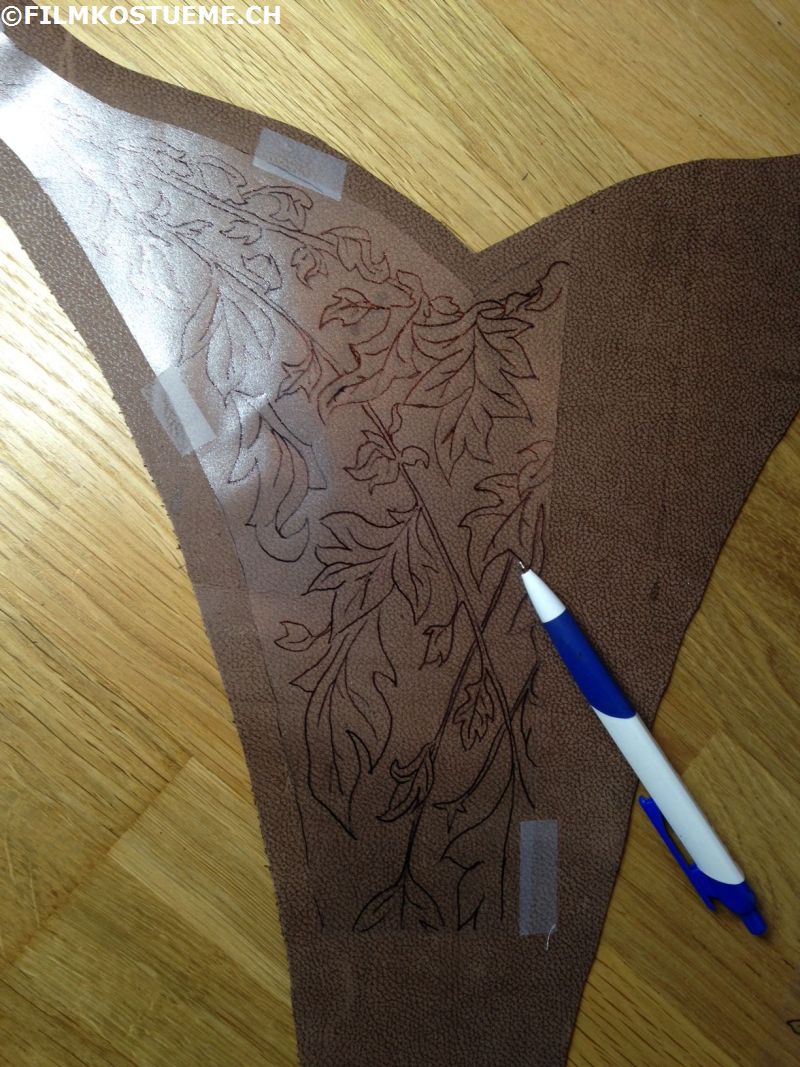
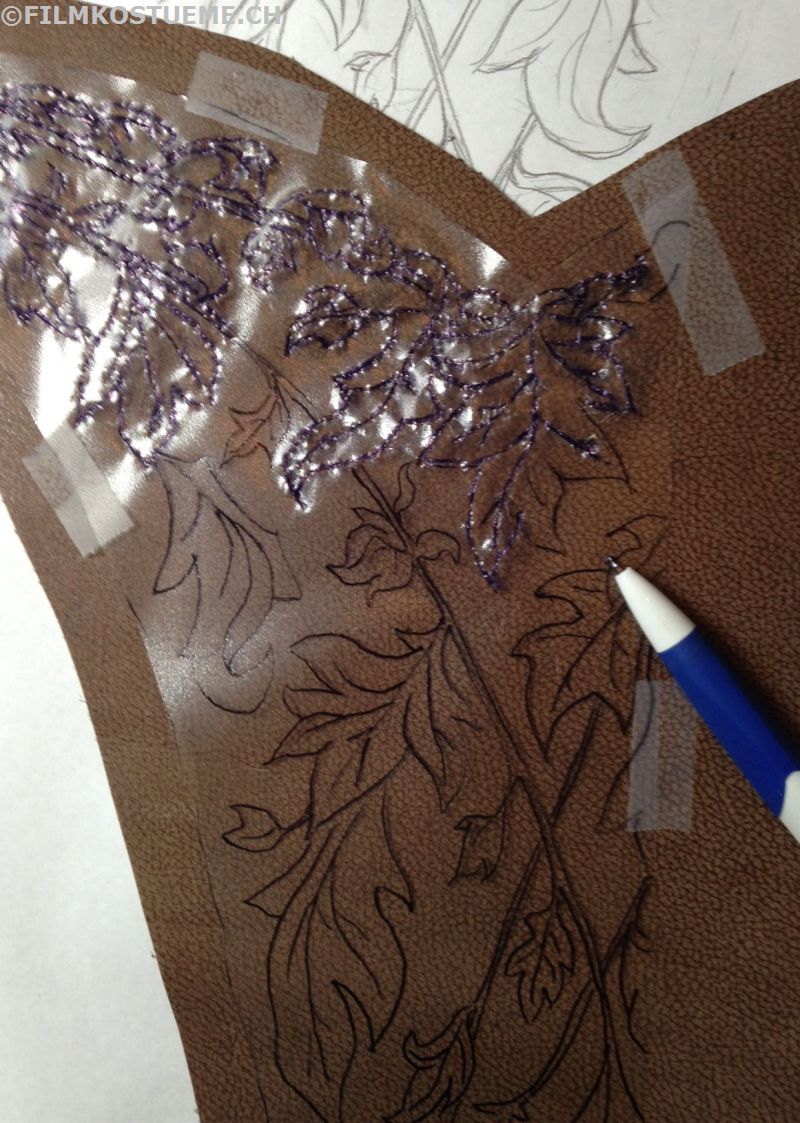
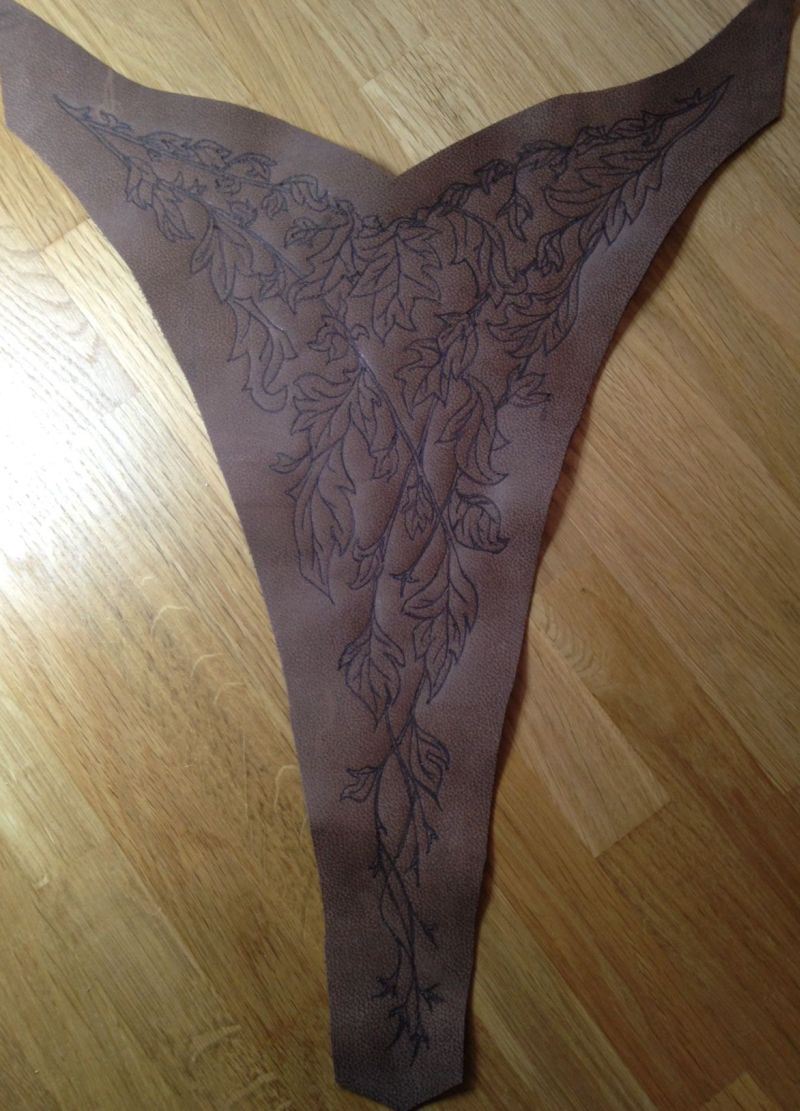
As my leather wasn't ideal for this kind of things, you could almost not see the lines on it, so I had to copy only small portions and then had to trace the almost invisible lines with my pen. Well I have to find a better way to do this next time...

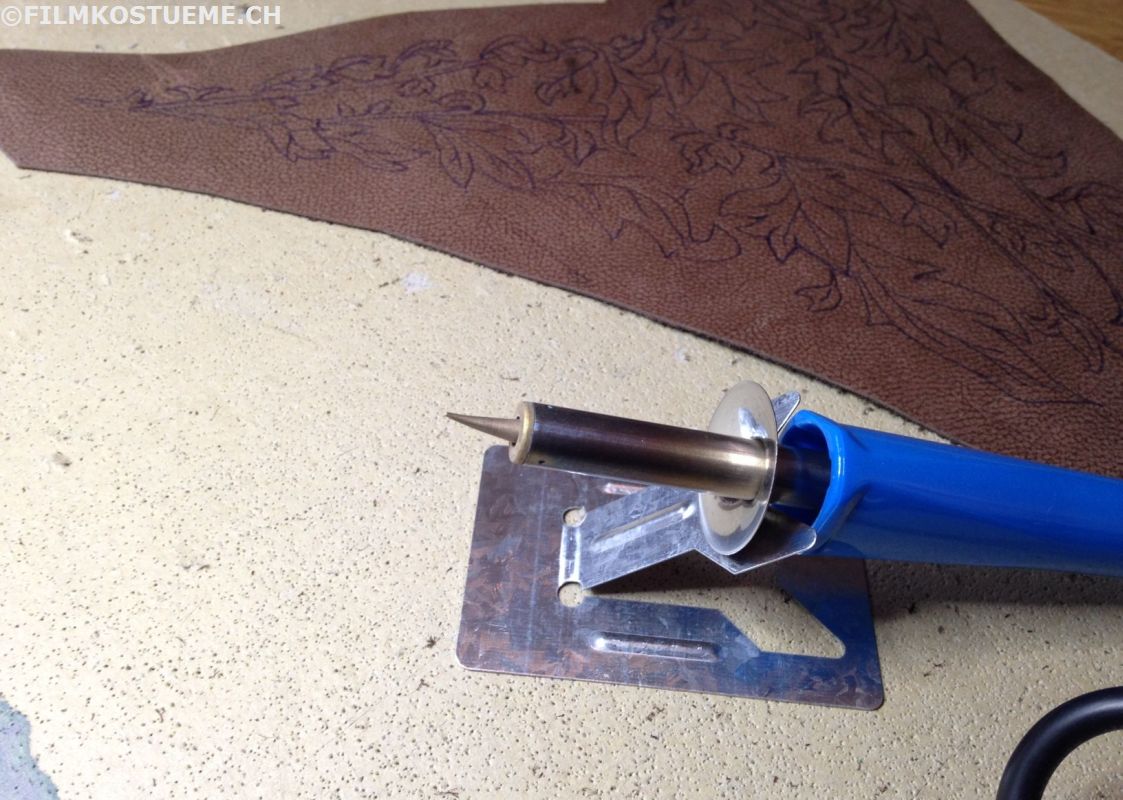
And then it was on to the fun part 😀 using my new burning pen
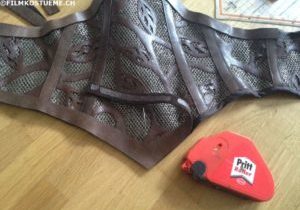
And this is my final result. Although it doesn't really looks like the original, I like it very much and think it looks awesome.
Let me tell you guys, this burning pen is such a cool tool, I'm a huge fan of it and am looking forward to using it again!
Sewing the corset together
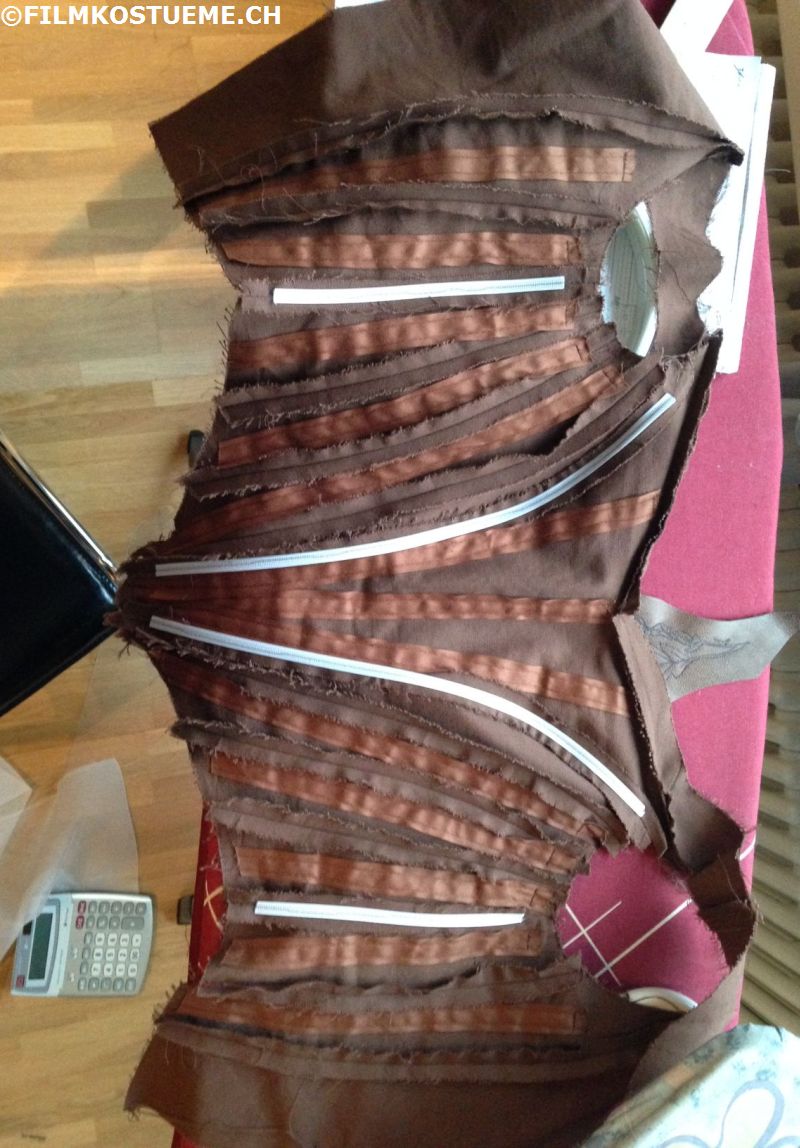
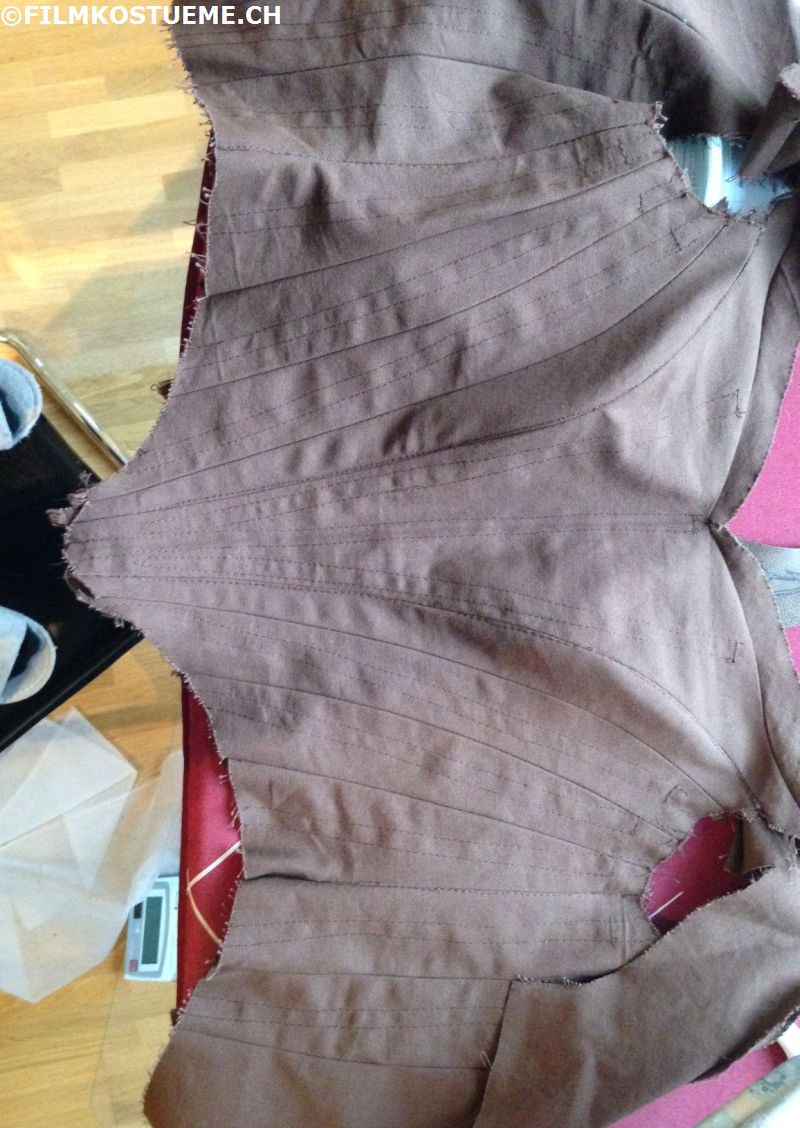
My corset has a substructure with boning in it to give it more hold.
Here's what lies beneath the leather.....
All those ribbons that you can see in lighter brown, are the tunnels for the boning (which comes later). The white stripes you can see, are the flexible boning which I sewed directly to the curved seams (over the breast and the side)
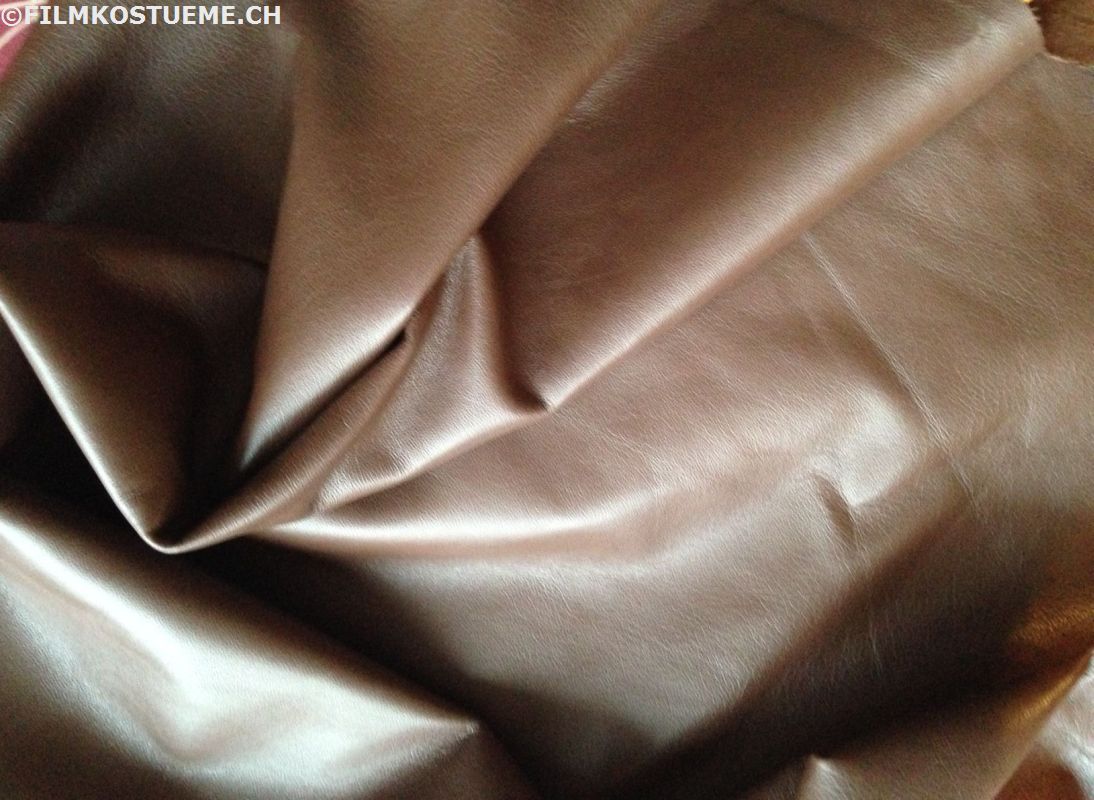
And here is a picture of the beautiful, soft leather.
It's a lot softer than the one I used for the front piece.
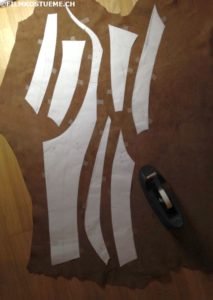
For the cutting I taped the pattern onto the leather. You can't use pins, they would leave wholes.....
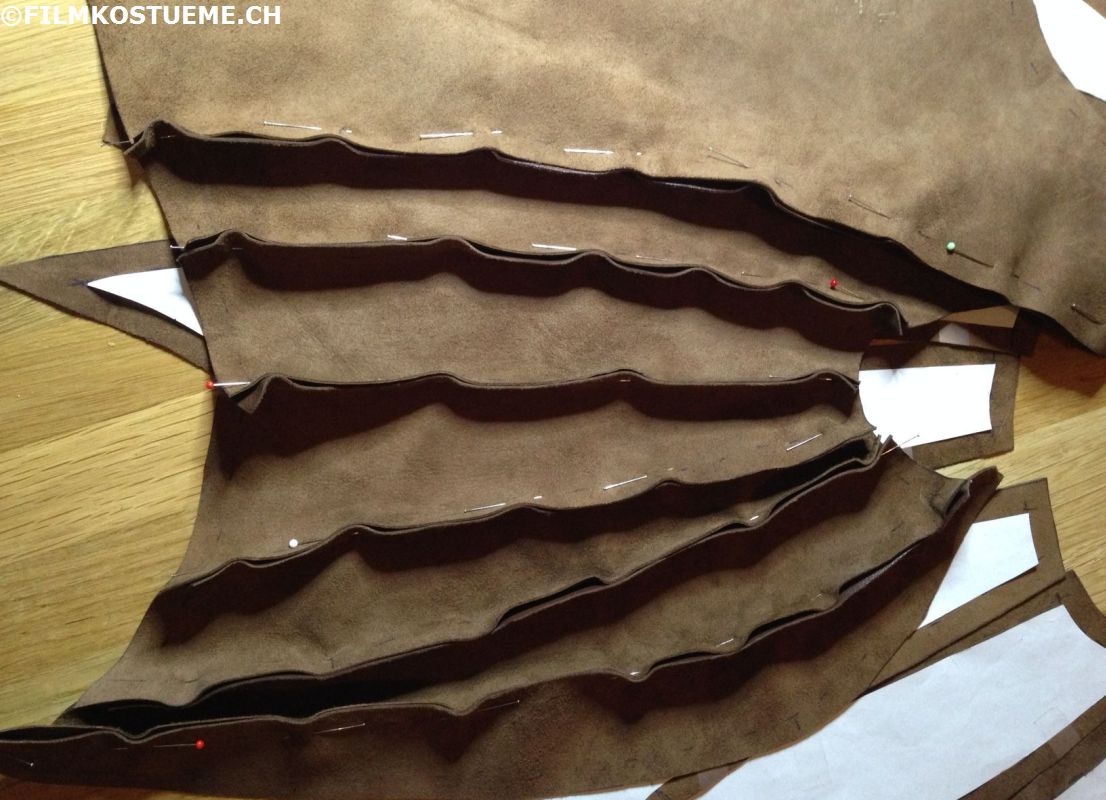
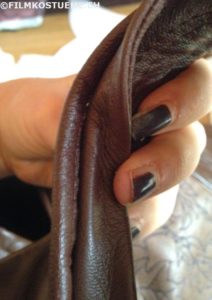
Here you can see how soft the leather is, I can pin it together and yes for this you can use pins because you will sew exactly where the pins are now 😉

Here you can see how soft the leather is, I can pin it together and yes for this you can use pins because you will sew exactly where the pins are now 😉
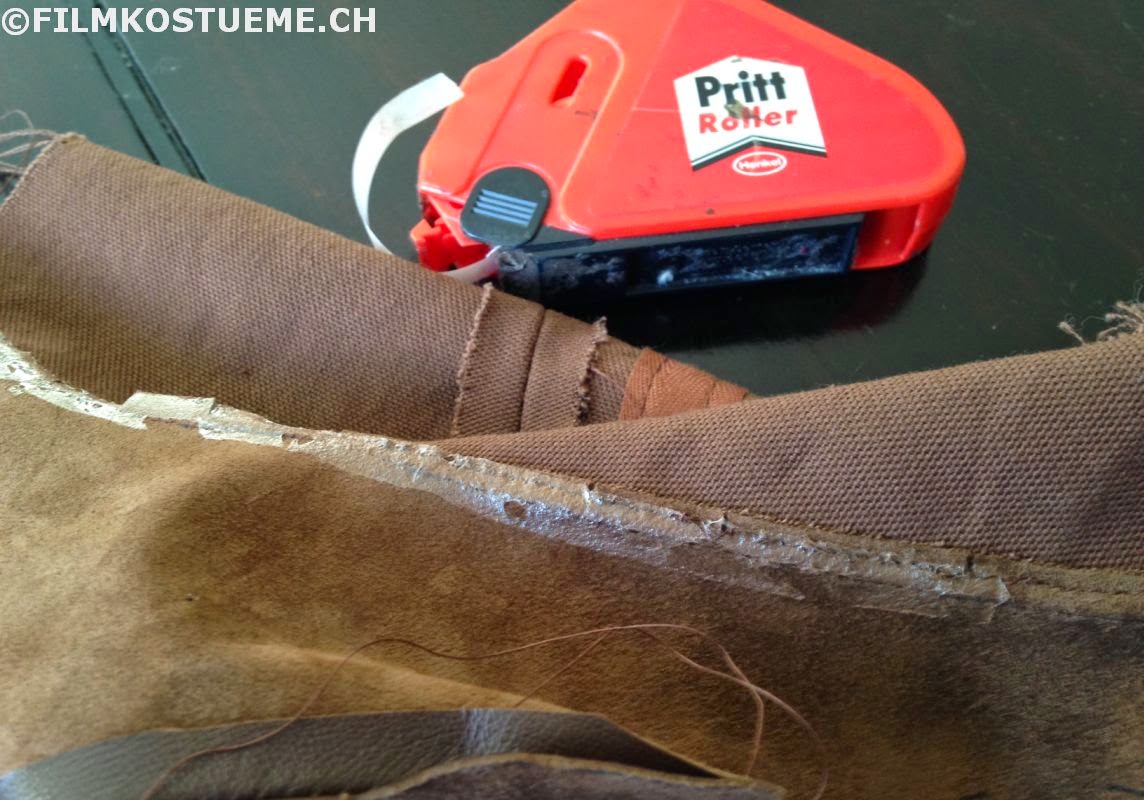
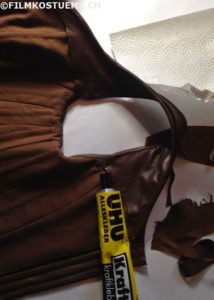
As you can't iron leather, I glued down the seam allowance with this roll-on-glue (after the sewing)
works great and is very easy!
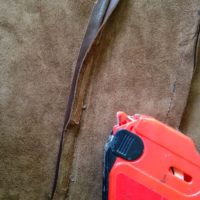
After the leather part was done, I sewed the leather and substructure together and also glued it down at the neckline.
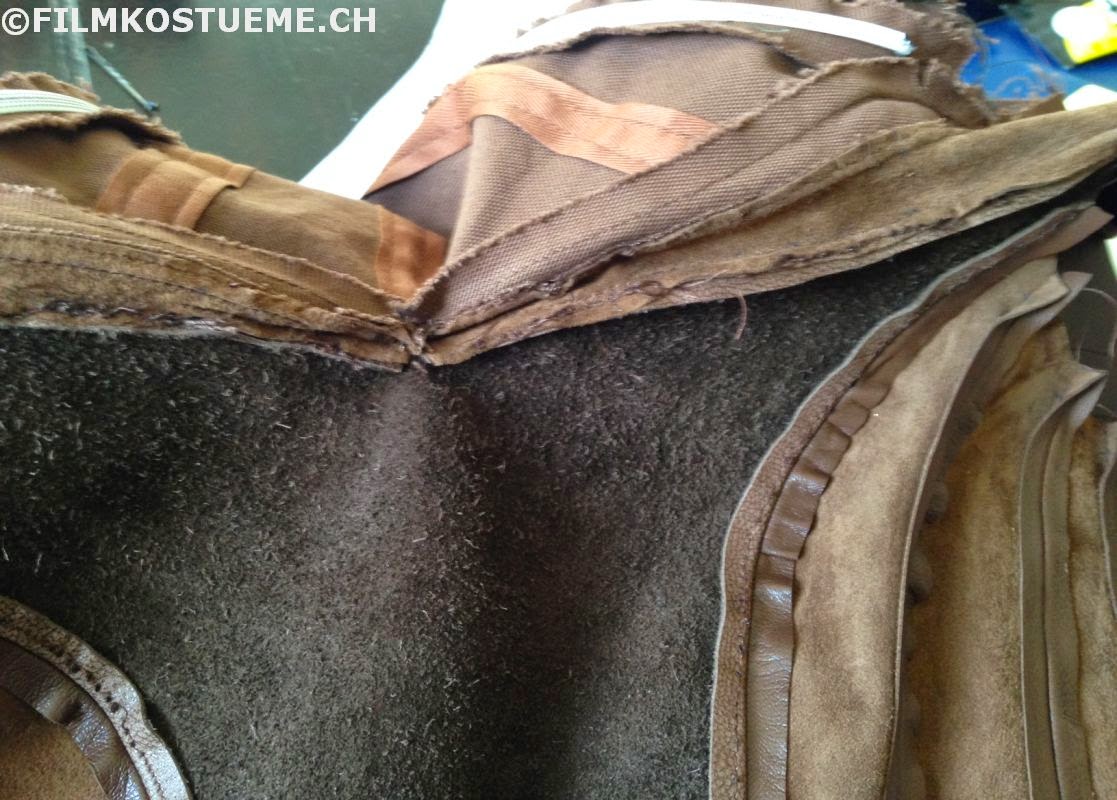
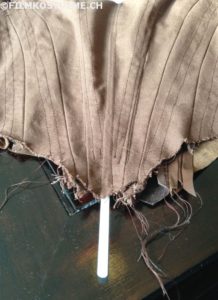
And now it was time to insert the boning into the tunnels.
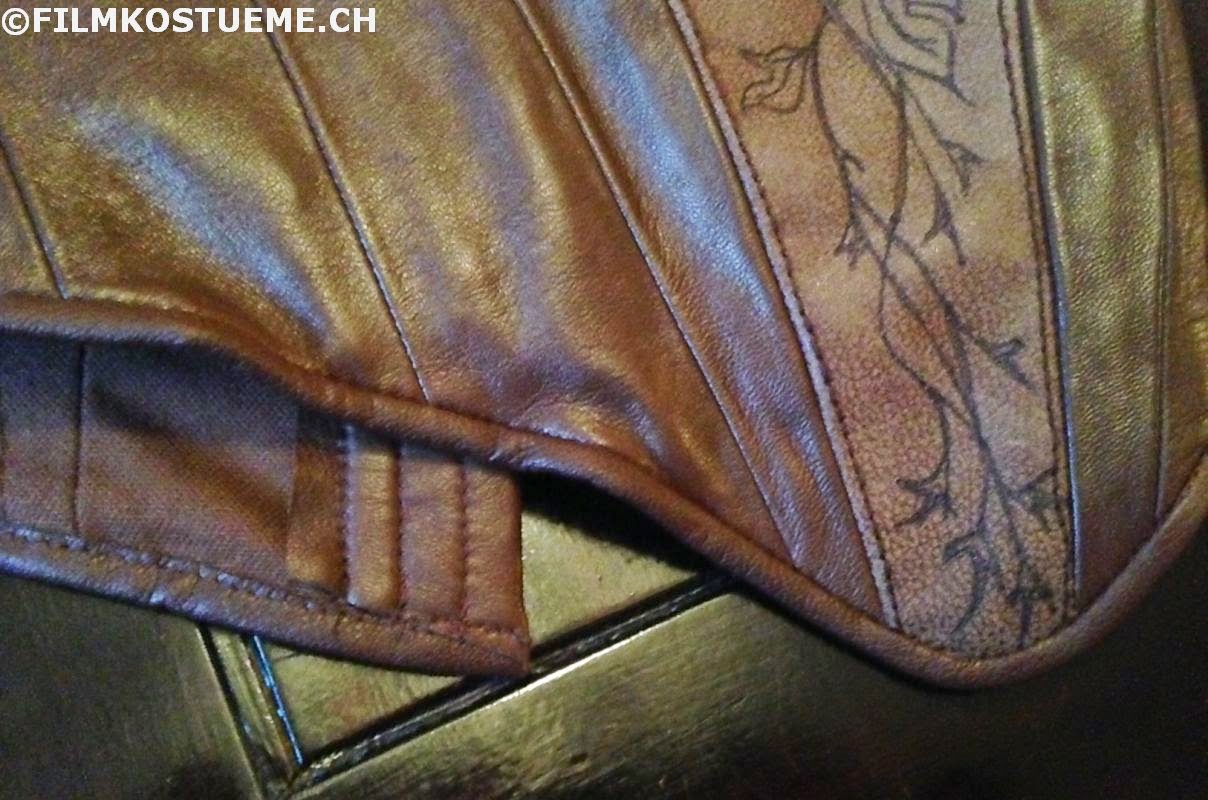
For the edges of the armholes and the hem I used a fake leather edge binding.
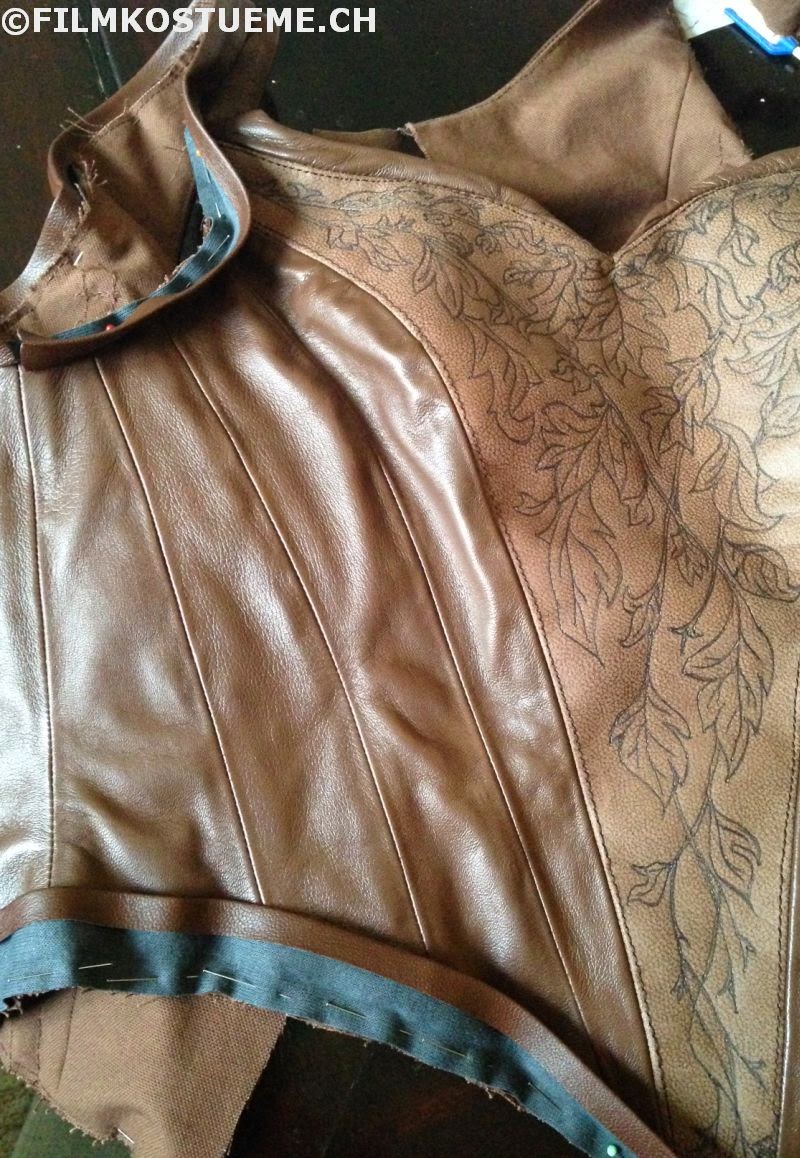
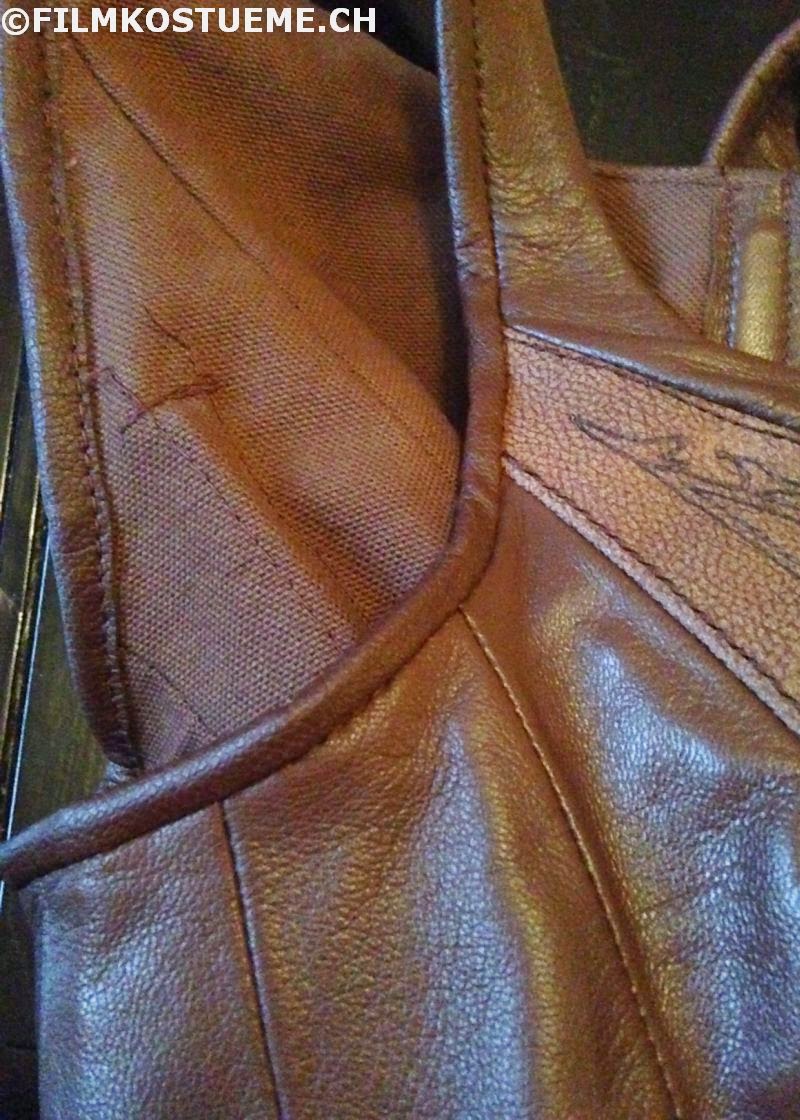
Another short pattern testing to see if the shoulder parts fits and it did.
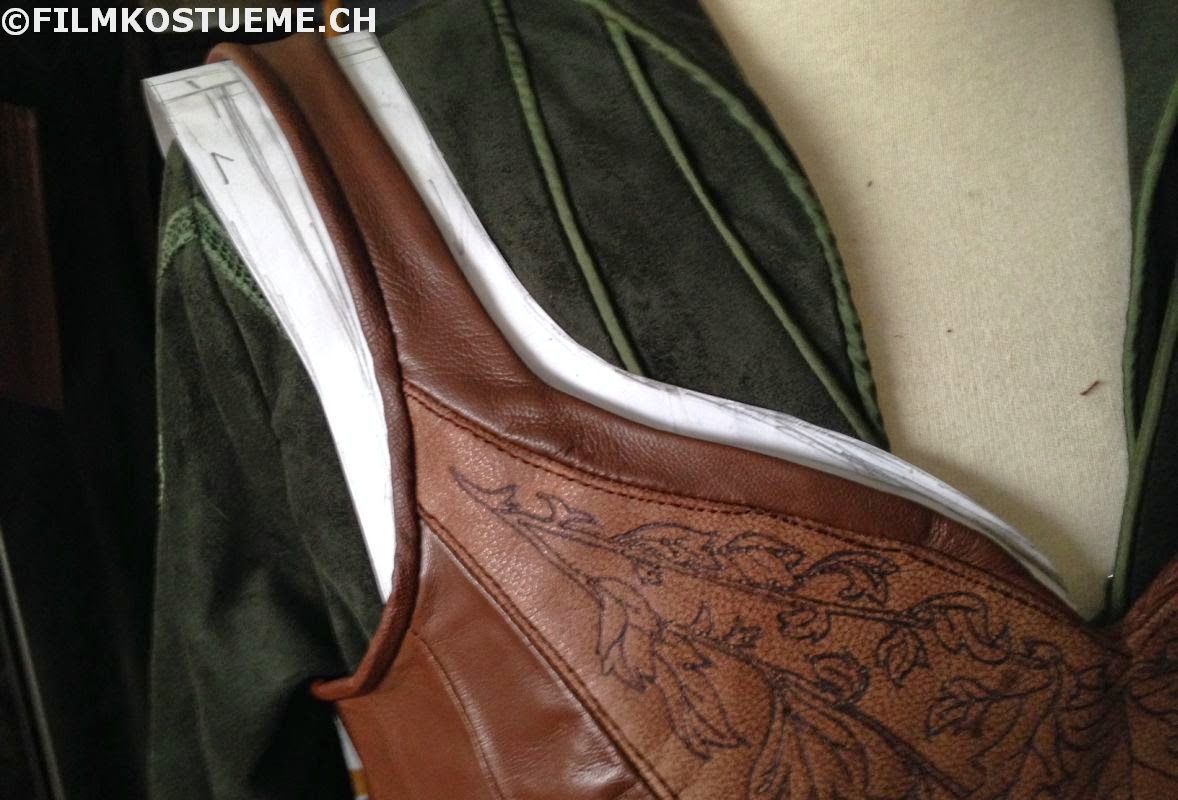
Then cutting the shoulder parts, sewing them together and finally gluing the edges down.
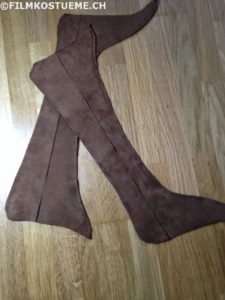
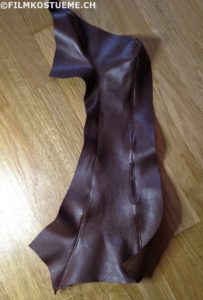
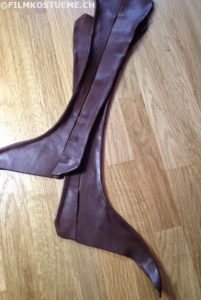
To fix the shoulder parts to the corset, I didn't sew at all. I just used a special glue (which can be used for leather and stays somewhat flexible)
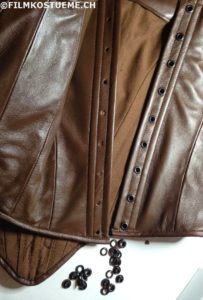
Closure lacing
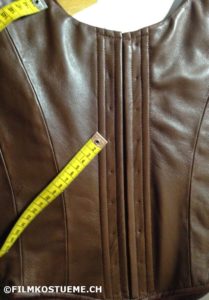
First I marked the points where I wanted to punch the holes for the eyelets.
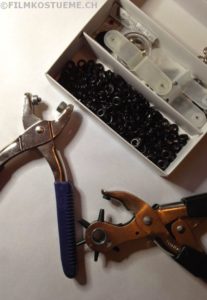
I used a puncher and a eyelet pliers to fix the eyelets to the corset.
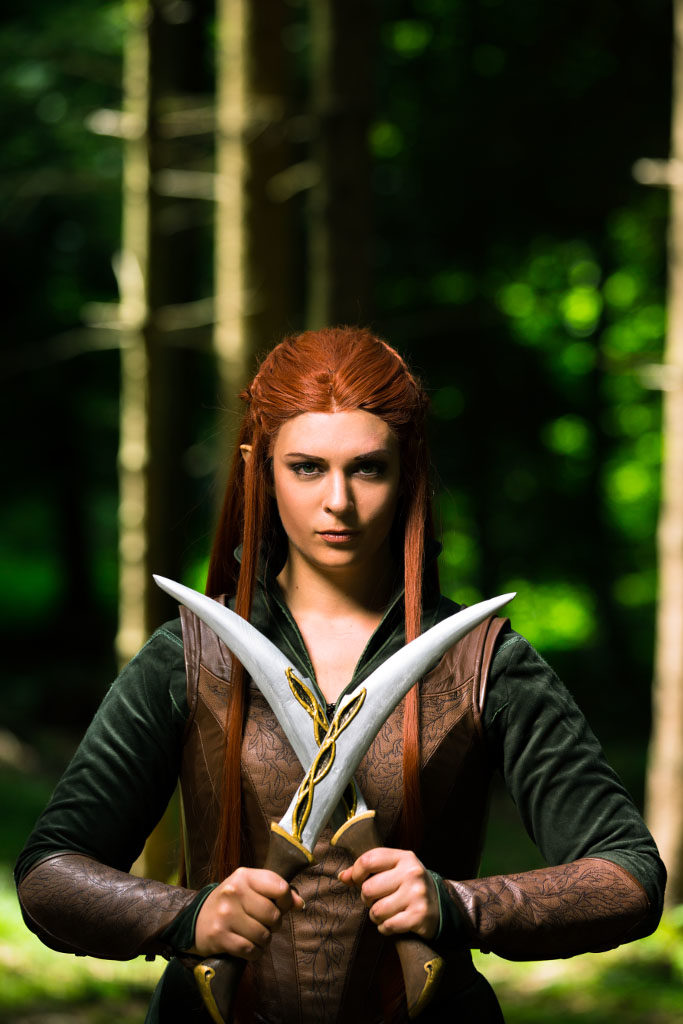
Finished corset
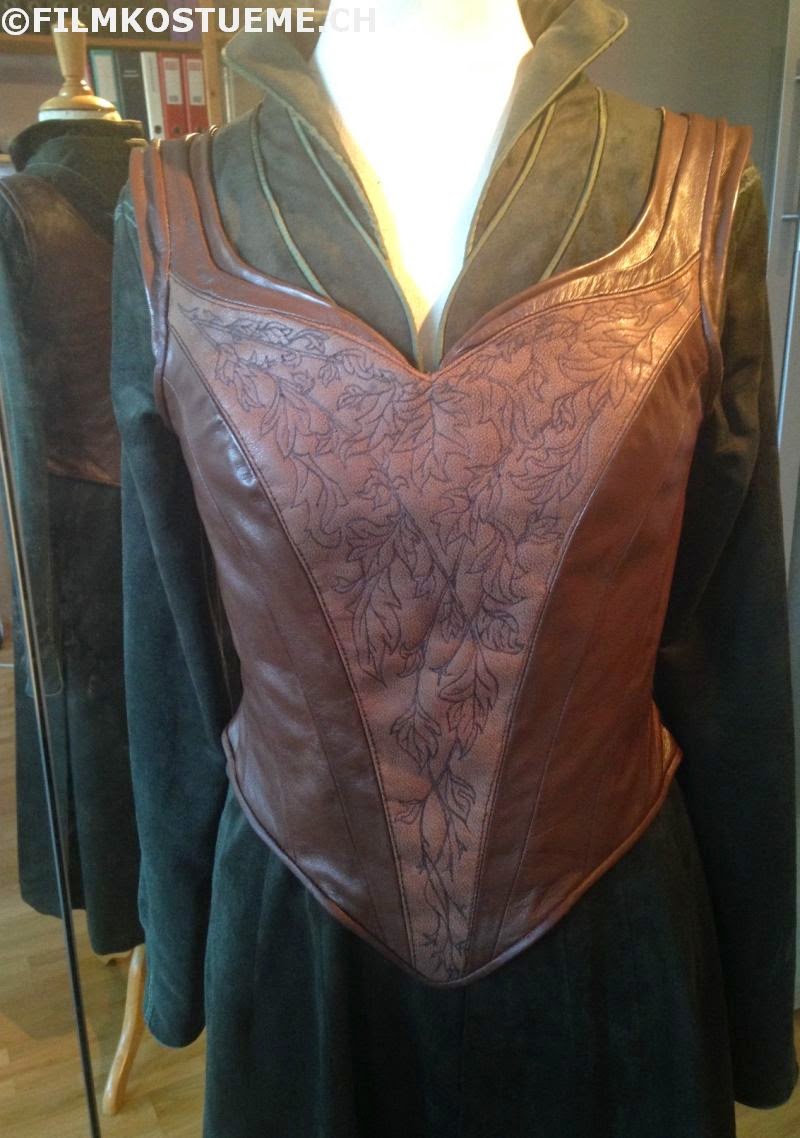
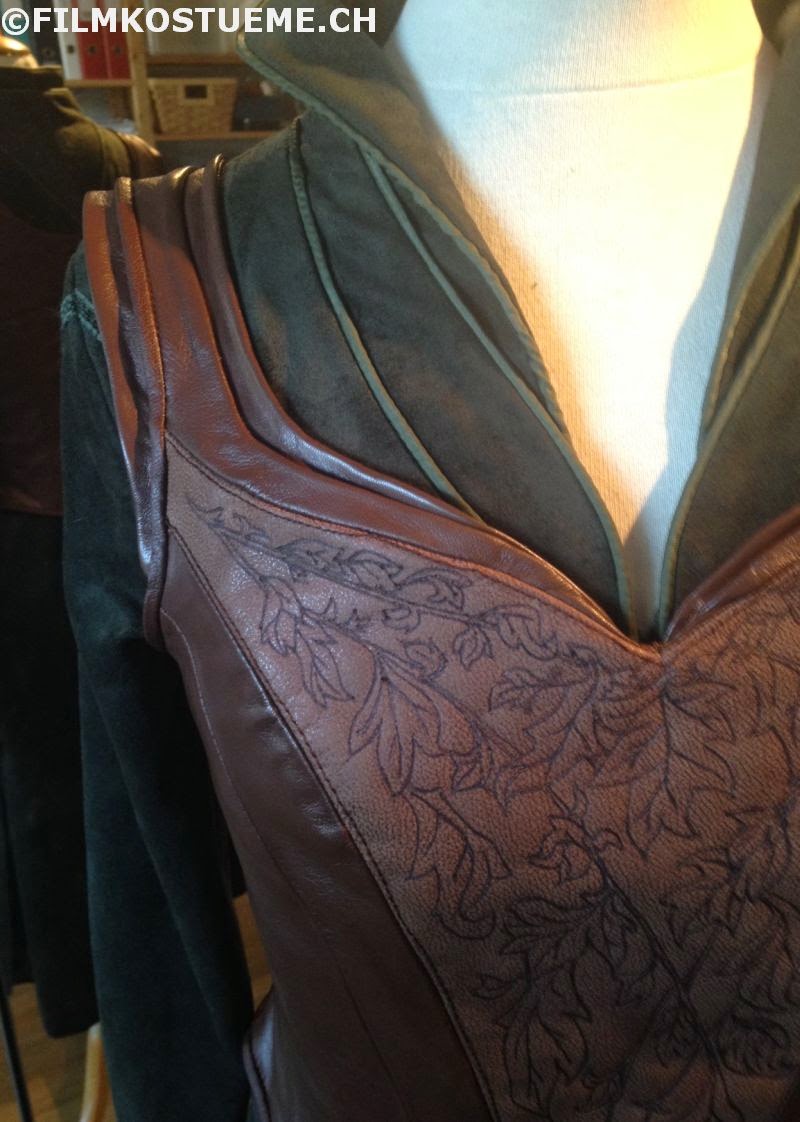
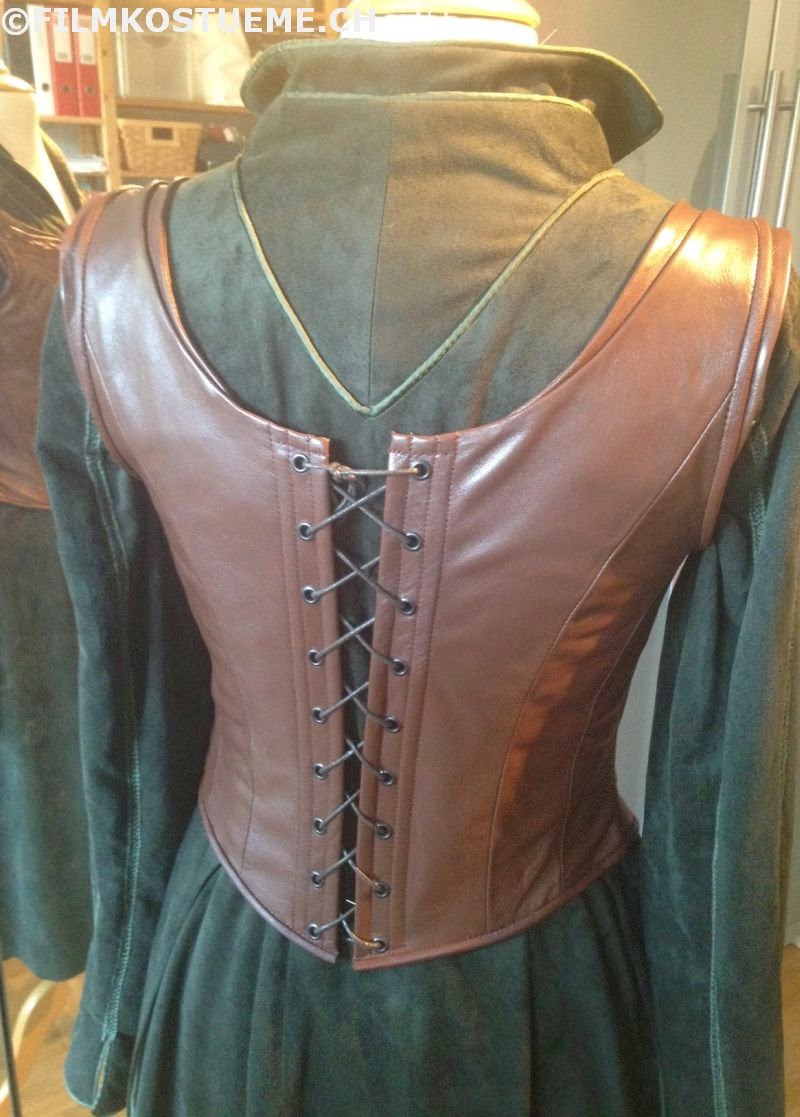
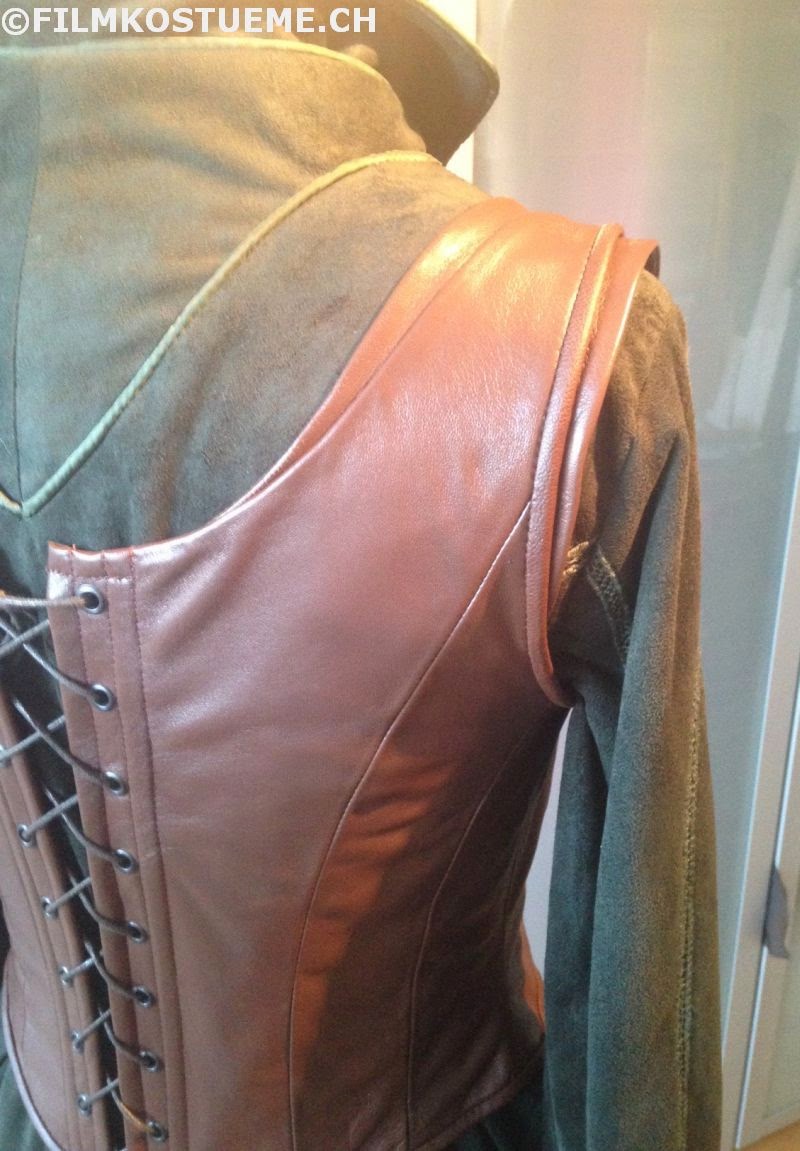
And that's it. I hope you liked my corset tutorial and find it helpful.
Please feel free to share it.
If you have any questions, leave me a comment.





How did you make the pattern for this corset, and the other pieces? I am trying to make this costume, but I cannot find any patterns that I can modify to this. Did you make it by scratch, or did you find a pattern that you could change around to how you liked it?
Hi Brianna,
I make all my patterns from scratch. So I’m sorry, but I can’t point you to a existing pattern. Maybe you could find someting similar in the histoic corset section you could alter from the 1800s?
Wow! Thus is beyond words such an amazing work! I just started to do some research for a Tauriel costume, and was lucky to stumble upon your site immediate🤩 I’m not sure if I’m going to take the Advanced version like yours, I’m more of an „novis-cosplay-senior-secondhand-creator 😅 Gonna find your Instagram! Keep up the good work! Tchüß from Sweden
Dear Jenny, thank you for your kind words 🙂 I’m happy you like my work and hope you can get some tipps to help you with your Tauriel 😀
All the best from Switzerland <3
How much fabric did it take to make the corset and bracers? I’m making my costume but I don’t know how much fabric to get.
Hi Joanna, I used real leather for the corset and bracers. I’m not quite sure how much. I think I used about 2 goatskin hides and some thicker leather for the front piece of the corset and the bracer (for that I used some left overs from other projects). With leather it really depends on how big the hide is you use though!
OMG!!! This is so amazing. I was wondering if you could share the corset pattern or if you have the pattern for sale somewhere. I’m trying to make Tauriels corset but this is the only pattern I can find and I would love it if I could use this pattern. Thank you! <3
Dear LenaMarie, thanks for your positiv feedback. I don’t sell any patterns, I’m sorry. Maybe you find some pattern that is somewhat similar from the 1800s and the alter it accordingly.Good luck! 🙂
hello & huge thank you for all the details you shared. i had question about leather technics things to do & things to avoid, & you answered all ! merci beaucoup, best vibes from Bretagne in west of France