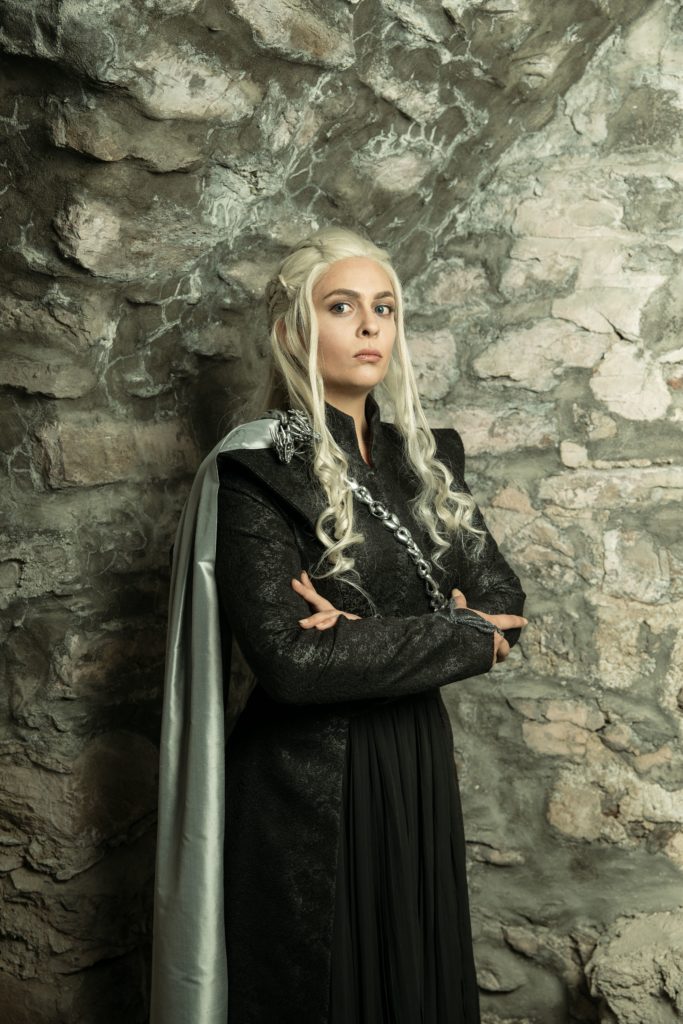
I know I promised this tutorial sooner, but I had no time to write it until now, sorry! This is all about how I made Daenerys dragon chain 🙂
If you want to know, how I made the dress, please visit Daenerys silver black season 7 dress
First test and materials
I used super sculpey for the dragon spine templates and cosplayflex for the actual pieces. I bought the cosplayfelx from cosplayschmiede.ch
And I'm very sorry, but I can't remember where I bought the super sculpey from, as it's ages ago and I still have a huge amount left 😉


My first test went not bad, meaning it worked pretty good with the links and all. BUT....
The pieces were far to big... ah well that's what tests are for I guess...
Anyhow I had to start over 😉
the chain

Here are some of the new, smaller pieces I made and I must say I was very happy with them. I ended up making about 25 or so different pieces and then used some of them multiple times in my chain.
Once I had the mold pieces I sprayed them with a separating wax, so the cosplayflex would stick to it to much later.


I then formed the cosplayflex over my mold pieces and let them cool completely before removing from the base. If you remove it too soon, it will loose it's shape...
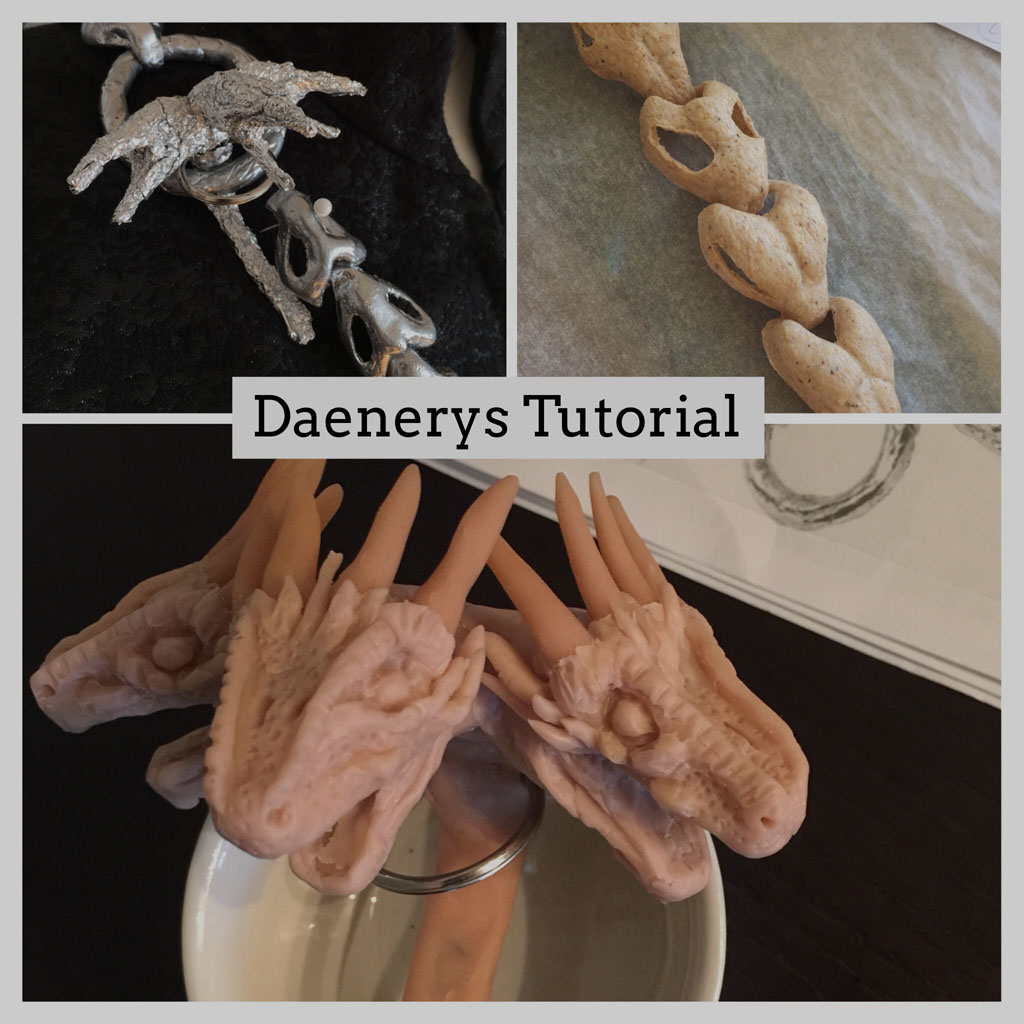
After that I used scissors to cut around the edges leaving this small piece in front, like shown in the second pic above.

Next step was cutting the hole on the opposite side of where I left the little piece standing (this may differ, from piece to. there are some pieces with holes on both side i.e.)
Then I used a heat gut to form the little left over piece into a hook. But be careful not to use to much/or long heat on it, other wise you could deform your piece.


And this is what two pieces hooked together look like. In the second picture you can see, that I wrote done the number so I would know which piece goes where 😉

In some of the pieces I cut some extra holes, just for decoration 😉
Some pieces in a row 🙂


There are two rings in Danys chain, one on the shoulder and one in the waist area. These are the base for my rings. I later covered them with super sculpey and baked them. Sorry I forgot to take pictures 🙁
Here you can see the rings with the super sculpey around the wire.
It turned out really nice so far 🙂


Then came the priming and sanding. That took quite some time...
I used fine spatula and did about 3-4 coatings. Let it dry between each coat. After that I sanded all the pieces. Ready for the paint.
As a color base I used black spray paint, because the silver looks better on black background.
Of course I took the chain apart before spraying it, to cover everything.


And that's what the chain looks like after the silver spray paint. I used a chrome silver color, so it would look shiny and more like metal. 🙂
That's it for the chain part.
3 headed dragon
On to the more difficult part of the chain: the dragon brooch!

I started off with wire (a thicker and a thinner one) and wrapped it with foil. I also attached a key ring to my wire dragons, so I could later hook in the chain.


I then tested the foil-wire base on the chain. Is the size correct? Do I have to change some things?
All in all I was happy, but had to shorten the snouts a bit.


And so the sculpting part began. I first just added a thin layer of super sculpey to the foil and then baked it. This way you have a firm base to work with, which is very helpful for what is to come 😉

Then I started to shape the dragon heads and add some details.


Here I made the larger horns and inserted a thin wire to connect them to the heads.
Before I fixed them to the dragons, I baked them, so the won't deform. The wire helps them to stay in place and don't break off easily.

After the big horns, I added a lot more detail. Like a ton of spikes and smaller horns and added texture to the skin, tongues and teeth.
OMG the teeth were a nightmare, because they are so tiny. I took forever 😉
Once I was satisfied with all the detail word. I baked the whole thing 🙂


Again, like with the chain. I primed the dragons with black spray paint.
And the silver spray paint.
The final work was using black acrylic paint to add some depth and definition to my dragons.
The black details, make it look more like real metal. 🙂
I'm super happy and very proud, that my dragons turned out so good. I've never done anything like it before 🙂

Finished Chain


That's it for Daenerys' dragon chain. I hope you found my tutorial helpful. Please feel free to share it.
I'm planing on doing more Daenerys costumes soon, so if you have a favourit of hers, please let me know 😉
If you have any question, leave me a comment.


Wow, this is incredible. Thank you so much for sharing! It came out amazingly, I’m so impressed.
Thank you so much! 🙂 I’m happy you like it and I hope I could help you with your, if you plan on doing one for yourself 🙂
Sarah
Cool!
Would you consider selling one?
Hi
I’m glad you like my dragon chain. but I’m sorry I will not make them to sell. There are some of 3D versions on etsy that you can buy 🙂
Incredible! Well done on the dragon heads!
You are very welcome and thank you 🙂